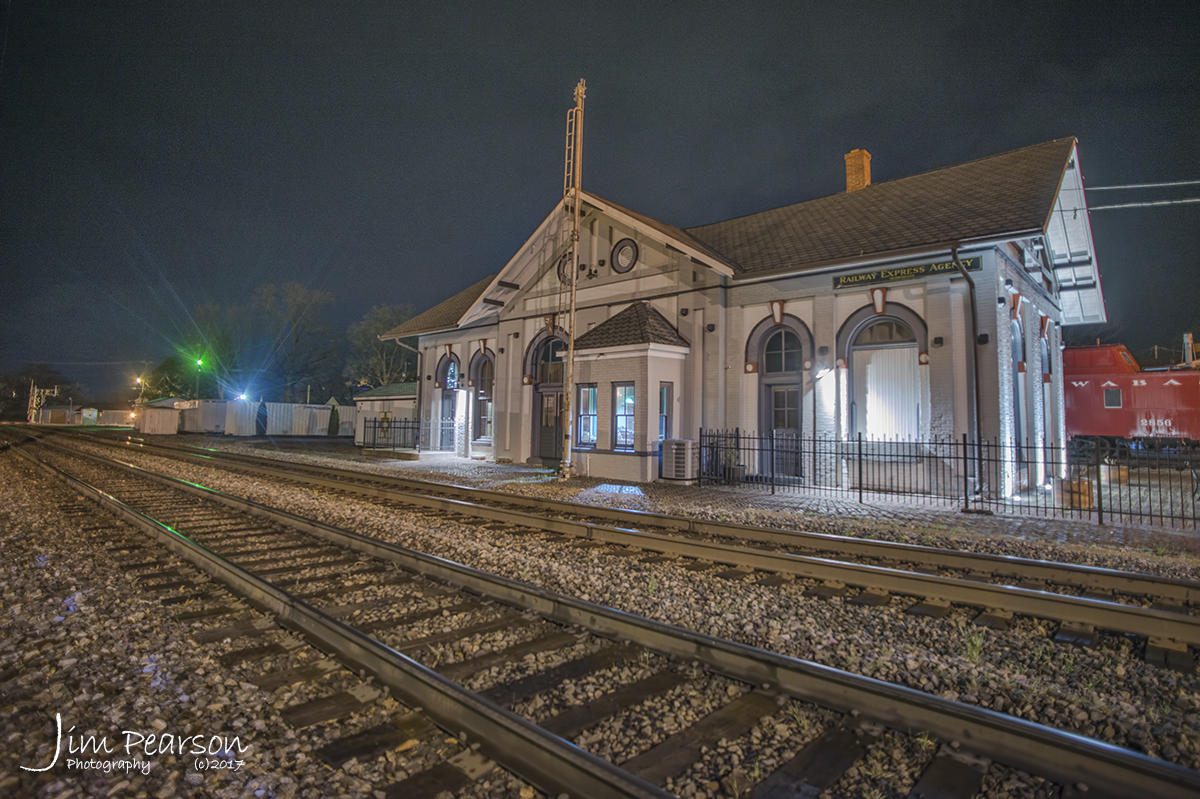
March 25, 2017 – The Princeton railroad station was built in 1875 and has been beautifully restored. Once housing the C&EI and L&N railways, it was the lifeline of commerce and transportation for the county. Passenger service was discontinued in the late 1960’s. The Princeton Train Depot is now home to the Gibson County Visitors Center and features a railway museum with a restored train caboose.
Sometimes I start out planning to do one thing when I set off on a railfan trip, but end up doing something different which usually results in nice photos I wouldn’t have gotten otherwise!
I try to do some railfan photography several days during the week, usually Wednesday, Thursday and Saturday. Mostly because on CSX’s Henderson Subdivision, which runs here through Madisonville, Ky, these are the busiest days.
Well, last saturday, March 25th, 2017, the weather was overcast and it was drizzling rain off and on most of the morning as I sat here working on the computer and trying to motivate myself to get out the door and on the road. Yes, I too sometimes have to motivate myself to take pictures! LOL
After posting a few queries on Facebook to a couple railfan groups, about current traffic for trains in the area I want to railfan, I finally decided that I was going to point my Toyota RAV4 north and see where it’d lead me!
Responses to the Facebook posts were providing some info that trains were out there moving, just not a lot of them, so it seemed, but that never deters me as I always seem to find them. For me it’s not about the number of trains, but catching unusual or different angles, scenes or trains when I’m trackside. This day seemed to start out challenging, to say the least!
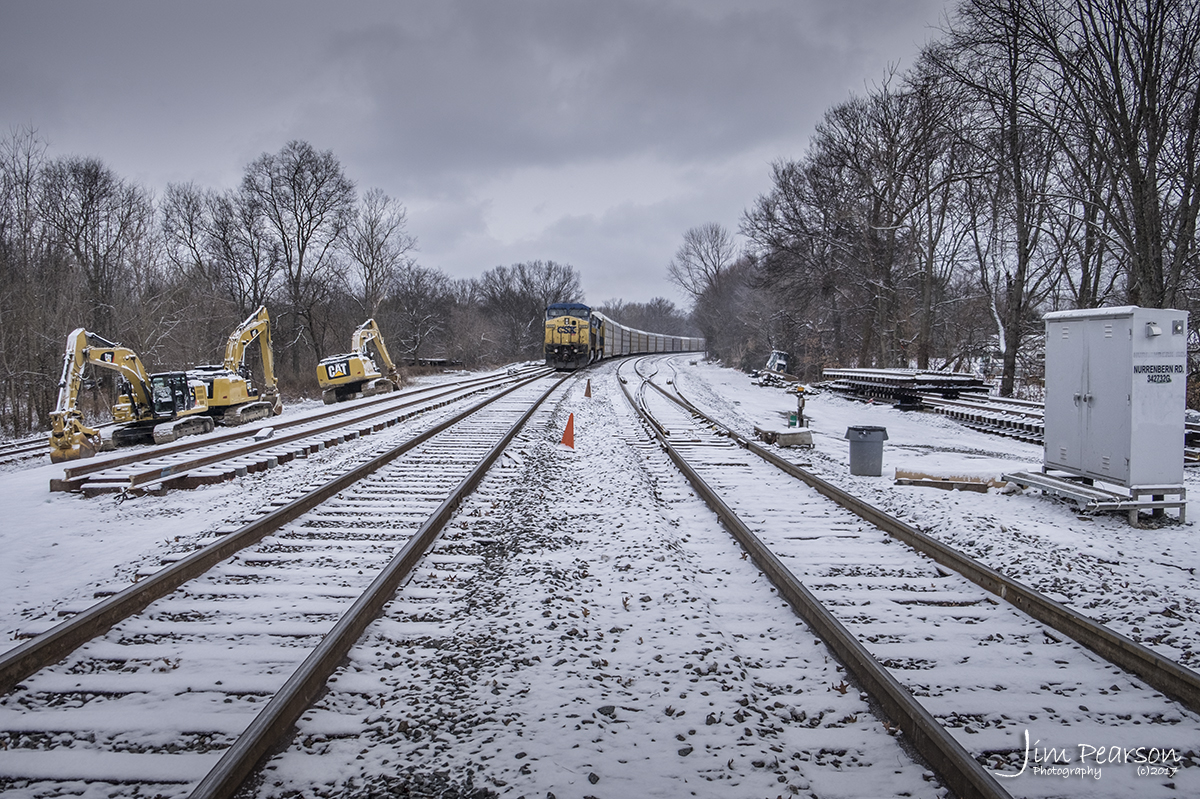
March 25, 2017 – CSX Autorack train Q247 arrives at the north end of Howell Yard in Evansville, Indiana.
Out of Madisonville I followed CSX’s Henderson Subdivision north to Evansville, Indiana and during the whole trip I only saw and heard (I use a scanner to listen to the train traffic) one train, a southbound, which I was too late in catching to get a photo! It wasn’t looking good! 50 miles and only one train? Maybe I should have stayed home, but the clouds in the sky were fantastic and I was determined to catch some trains with them!
My first stop was CSX’s Howell Yards in Evansville, Indiana. This is a spot where you can drive all the way around the yard and get good shots from various angles. My favorite location however is on the west side of the yard across from the engine service facility. This is where I caught a autorack train coming into the yard heading south and empty coal train northbound from the yard. Knowing the route the coal train would take I decided to head on north toward Princeton, Indiana to get ahead of the coal train to catch it along its way north. This way I’d be sure of at least getting a few shots with a train.
March 25, 2017 – Empty coal train CSX E234 heads through St. James Curve at St. James, Indiana as it makes it’s way north on the CE&D Subdivision.
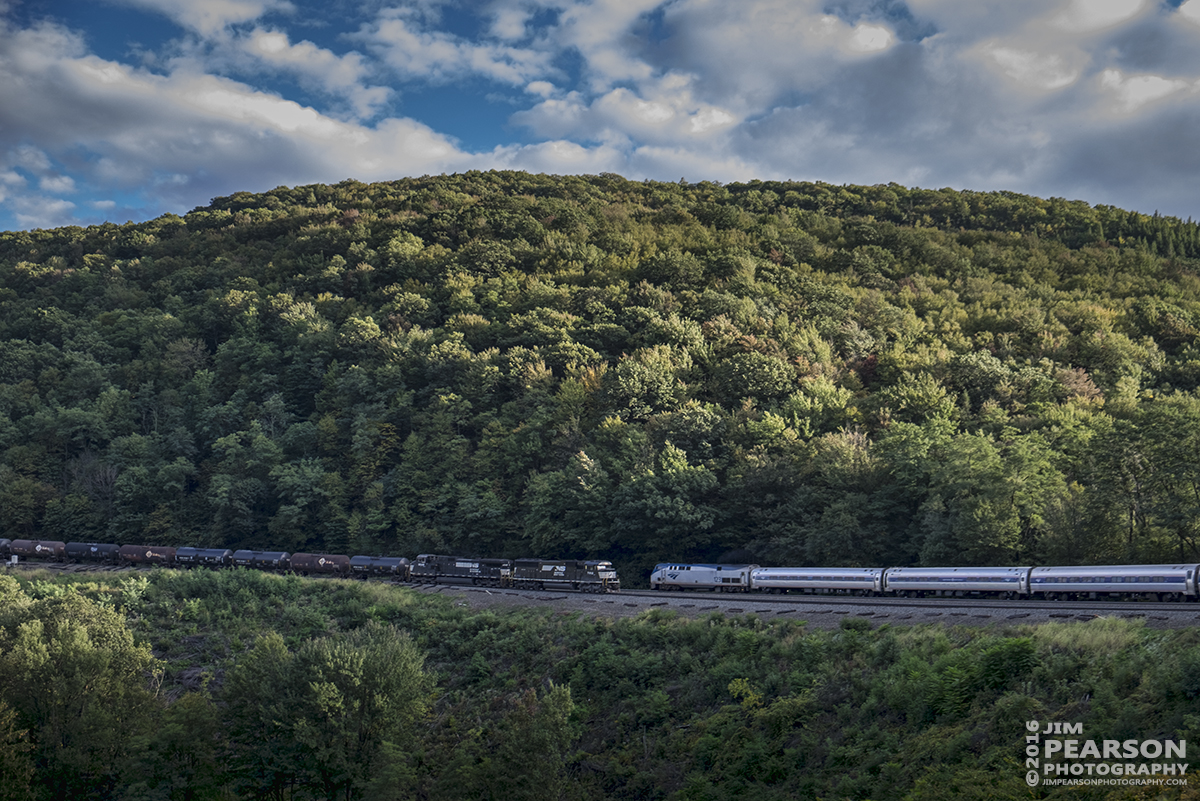
The first spot I wanted to catch the coal train was a location known by railroaders as St. James Curve, which is just outside the small hamlet of St. James, Indiana, just past I-64 off of Hwy 41 north. After arriving and waiting about 5 minutes the coal train, E234, graced my presence as it swept through the curve into the frame to allow me to catch this sweeping photo with the beautiful clouds in the sky! First photo I was really happy with from the day!March 25, 2017 – CSX empty coal train E234 heads north through St. James Curve at St. James, Indiana, on CSX’s CE&D Subdivision.
Knowing how fast the train was moving I knew I only really had one other spot I could get to before the train and that was the restored depot in Princeton, Indiana, which was the furthest I planned on going on this trip today.
Again, I was rewarded with this shot as the coal train prepared to pass the station as it continued its trip north.
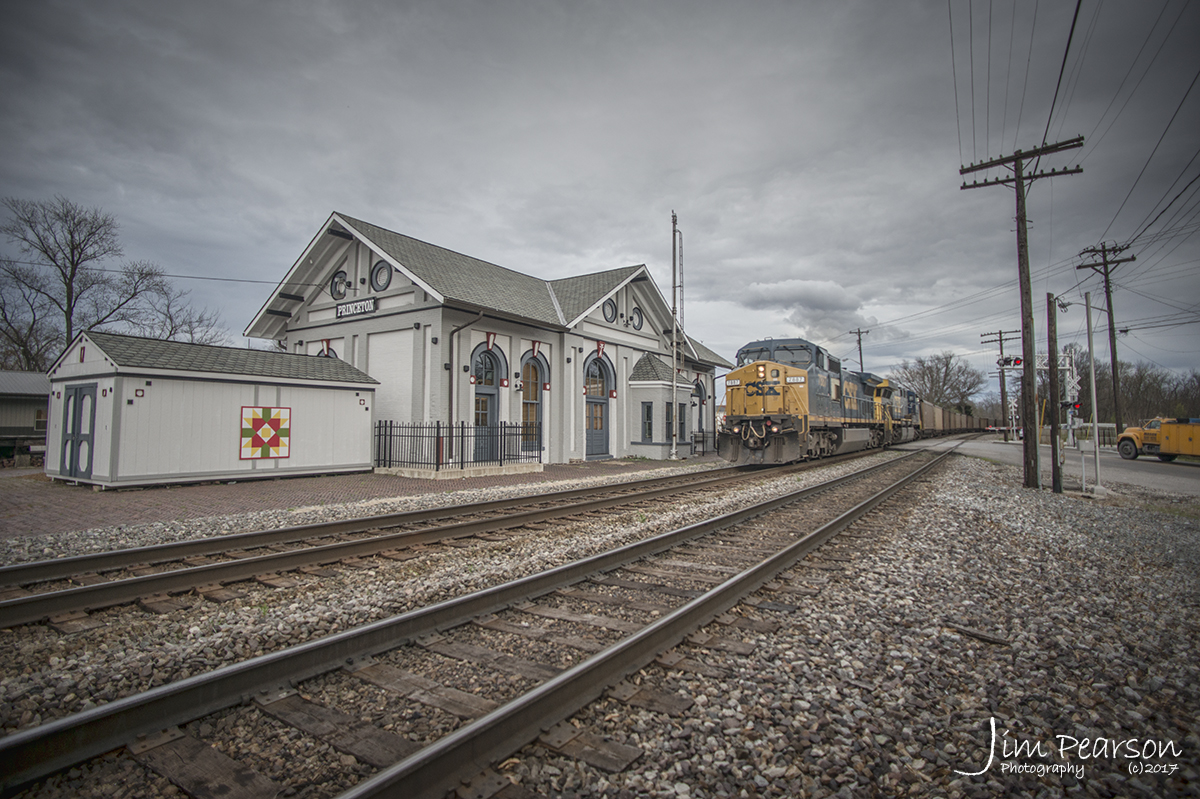
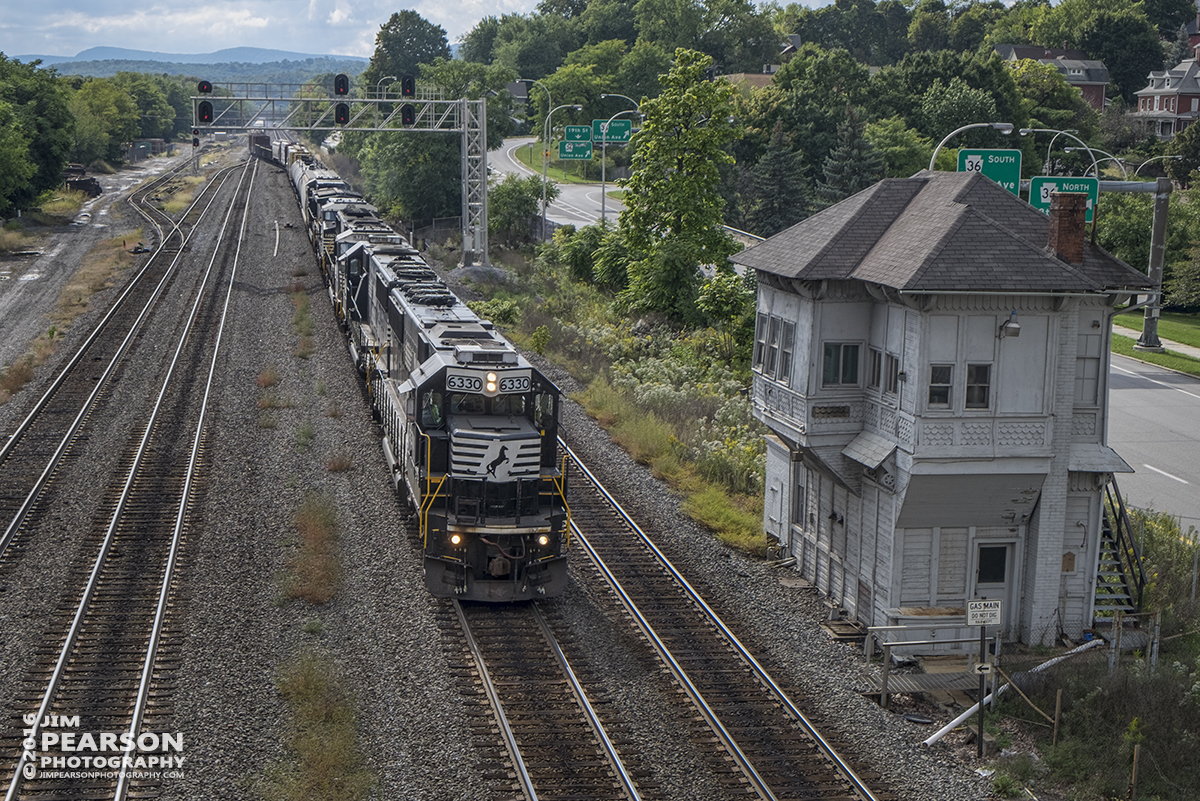
March 25, 2017 – CSX empty coal train E234 passes the depot at Princeton, Indiana as it heads north on CSX’s CE&D Subdivision. The station was built in 1875 and has been beautifully restored. Once housing the C&EI and L&N railways, it was the lifeline of commerce and transportation for the county. Passenger service was discontinued in the late 1960s. The Princeton Train Depot is now home to the Gibson County Visitors Center and features a railway museum with a restored train caboose.
At this point I was satisfied that I had a couple nice photos in the camera, but still I wanted more!
I had been in contact with fellow railfan photographer Ryan Scott via Facebook Messenger and phone, since I got to Howell Yard in Evansville. He also was out railfanning and we decided to meet up at the depot in Princeton to visit and railfan together.
That’s where things started to change from my original plan! We spent time looking and shooting at the Norfolk Southern Yard at Princeton and along the other lines in and around town and at the Alliance Coal Mine loop where coal trains load. Ryan then suggested night photos! He’s not had much success on shooting photos at night and was looking for some tips and help. I hadn’t planned on staying trackside that late, but it had been quite awhile since I did any night work so I went for it.
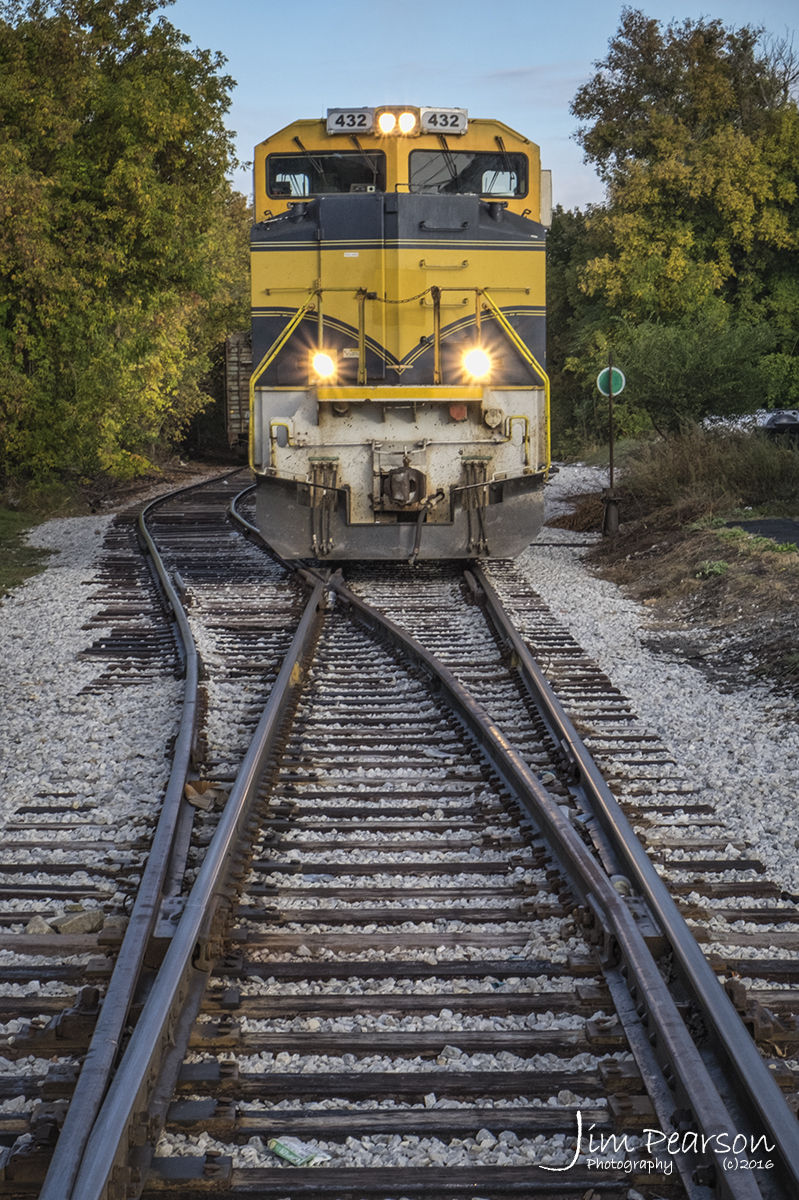
March 25, 2017 – The red light from signals light up the front of NS 871 with an empty Norfolk Southern coal train that tied down in Lyle Siding at Princeton, Indiana, waiting on a crew to take it on east on the NS Southern West district.
Now, for the railfan friends of mine that read this, here’s some of the tips I passed onto Ryan as we were shooting at Norfolk Southern’s Lyle Siding and in downtown Princeton during our night shoot that you might find helpful as well.
First, before we got out of the car, where we had some light, we set our cameras as follows:
- Turn off auto ISO if you use it and set your ISO to 250.
- Set your camera on manual and the shutter speed to 20 seconds with your lens aperture to it’s widest opening.
- Remove any filters that might be on the lenses you’re going to shoot with. Otherwise you can get some ghosting in your photos when the lights reflect back into the filter.
- Place your camera on a tripod!
- Then set the self timer on your camera to somewhere between 3-10 seconds. This is to insure that there’s no camera shake, resulting in a blurred image, when you trip the shutter.
Review your first photo on your LCD screen. If it’s too dark, increase your exposure by giving it more time, ie 30 -60 seconds. If your camera won’t allow beyond a 30 second exposure then increase your ISO setting to give you another stop of light. That means go from 250 to 500 ISO, or something equivalent. I try to keep my ISO as low as possible as this helps to keep the noise (grain) down in the photograph. Keep adjusting like this until you get an exposure that you like and feel you can work in. If the photo is too light then of course you go in the other direction with your exposure.
March 25, 2017 – Great time shooting some night action with fellow railfans Ryan Scott and Dave Kunkle! We caught this empty Norfolk Southern coal train that tied down in Lyle Siding at Princeton, Indiana, waiting on a crew to take it on east on the NS Southern West district. A big shout out to Dave Kunkle who was gracious enough to be our “grip” and use his hat to cover a bothersome light on one of the RR Boxes next to the crossing!
Focusing can be an issue when shooting at night as well. I usually bring a bright spotlight to shine on my subject to aid in focus, but since I didn’t start out planning to shoot night photos, I didn’t bring one. So, we had to improvise.
Change your focus point to center weighted so you have a single point to focus with. Then pick a bright spot on your subject and try to focus. If the camera can’t lock in the focus using the brightest spot, then see if there’s not something brighter about the same distance away that you can focus on. Another thing you can do if you are shooting with someone else, is to have your friend stand in a safe spot next to your subject and turn their smart phone’s flashlight on facing the camera and focus on the light from it. Of course you can manually focus as well, but for my aging eyesight I find autofocus works better for me.
Now, once you have the camera focused you need to turn off the autofocus on your lens or camera. Otherwise when you press the shutter button on the camera it’s going to try to refocus when you take the photo, probably resulting in an out of focus photo. I personally use the back focus button on my Nikon D800 and turn it off on the shutter button. This way I don’t have this issue. Most of your DSLRs have this feature. If yours doesn’t then you’ll have to turn it off on the lens between subjects.
Other than that, shoot a lot and check your focus after shooting each photo! Do this by viewing the photo on your LCD and zooming in tight to check your focus. Nothing more disappointing than shooting a bunch of photos to find they’re soft or out of focus, after you get back home.
As you can see from several of the photos here, I came away with some nice photos for not really having planned for shooting at night.
Oh, by the way, I left to start this trip at noon Saturday and by the time I got back home it was 12:30 am Sunday morning. Sometimes, things work that way though! All in all a good trip! Be safe out there when you’re trackside or traveling!
